It’s been TOO long, so it’s time for another rendition of…
Dare I say it, the nursery is almost ready for little Peanut to move in.
And I am finding myself more and more ready for Peanut to move out…
..of my tummy.
Seriously, it feels like she’s ginormous and finding herself with less and less room in there, so OF COURSE she responds with rib jabs and excessive movement.
Not to mention the more she grows inside, the more evidence I have of that on the outside..if you know what I mean.
Anywho, I have a REALLY exciting project to share with you which marks the almost completion of baby girl’s room.
Ever since I knew I wanted an owl themed nursery, I knew I wanted a white tree on the wall.
Similar to this pinspiration here.
But, was I willing to spend around $100 for a tree decal?
Not. Even. Close.
Plus, how hard could it be to hand paint a wall size tree? 😉
I’m sure you’ve seen this amazing tree on the interwebs..
I used her tutorial as a guideline for what I’ll show you.
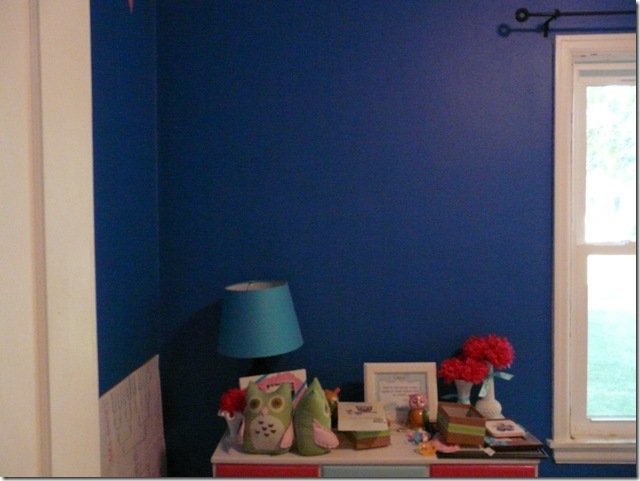
BEFORE:
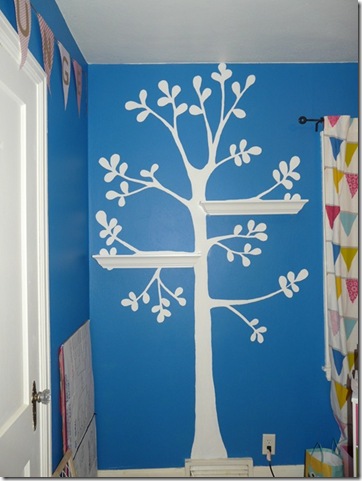
This is the wall you see as you stand in the doorway,
so the tree will be the first thing you see.
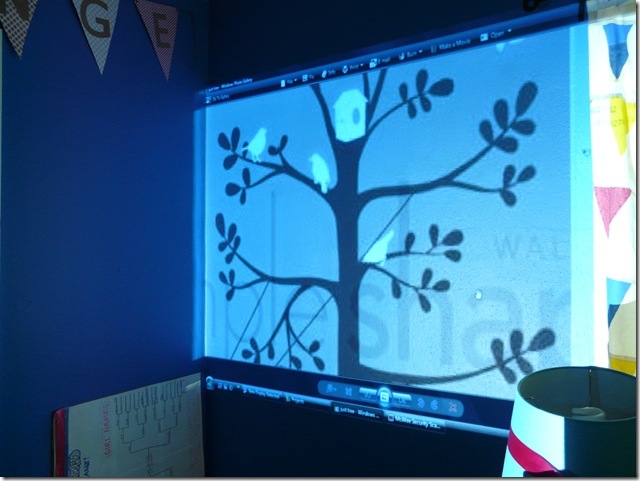
First, I borrowed the hubby’s projector.
Yes, it was suuuper helpful, if not essential, to have a projector for this project.
And super helpful to have a hubby that has a projector! Hurray for being married to a teacher! hehe)
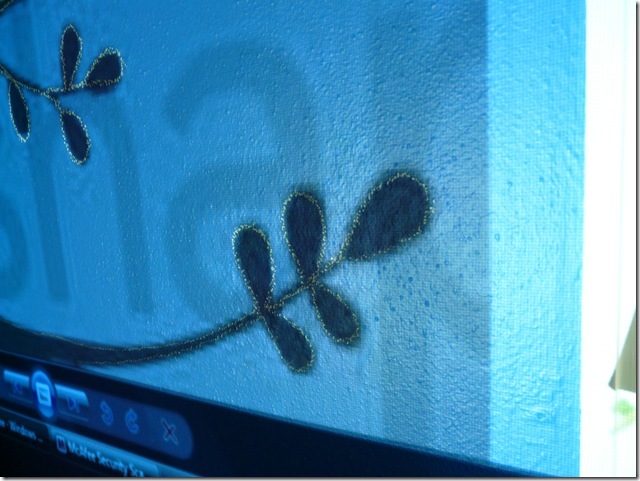
I projected as much of the image as we could get to fit (being as big as I wanted it, also) onto the wall to trace.
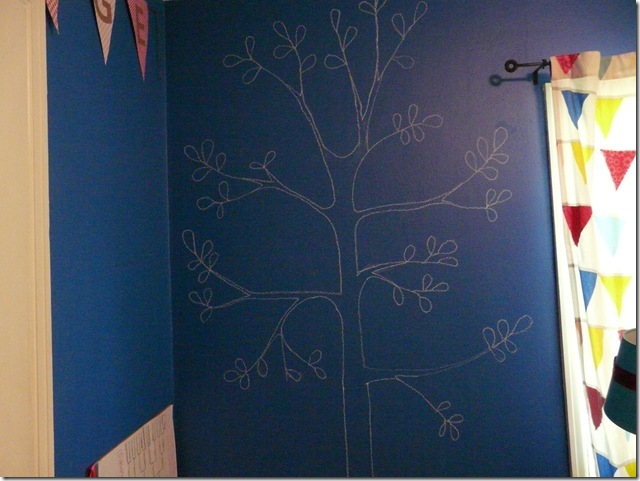
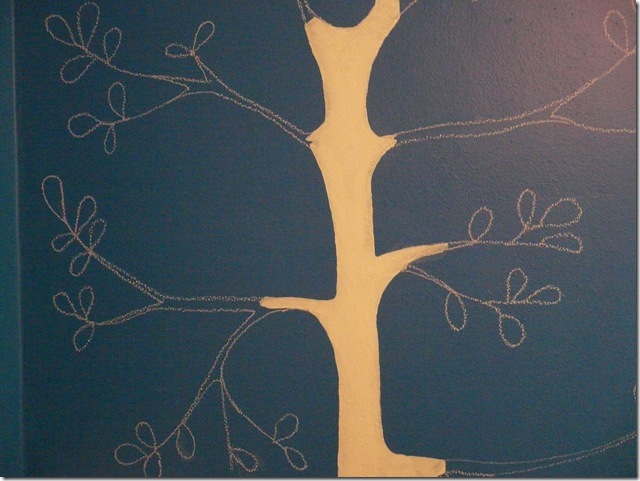
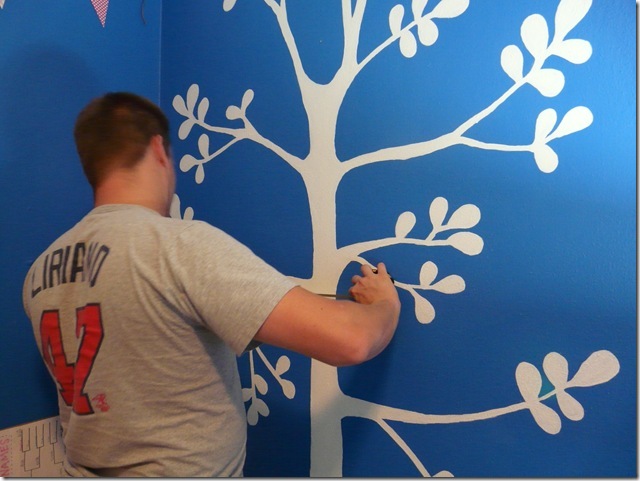
Then, I traced the outline with some white chalk. I made sure to stay INSIDE all of my lines and even drew a single line for the thinner branches.
That way, I could make each leaf and branch as thick as I wanted and wouldn’t feel forced to fill in an outline if it was too thick.
After I traced the mid portion of the tree, we readjusted the projector for the top branches and finally bottom branches and trunk.
Keeping in mind that the easiest thing to freehand would be the trunk.
Here’s what it looked like with just the chalk outline.
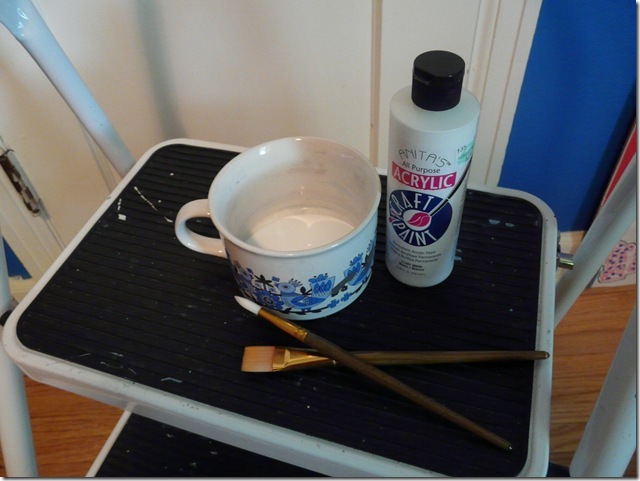
Next, I gathered my supplies needed for painting.
I just used white acrylic paint and not-super-cheap brushes from my local craft store (aka Hobby Lobby).
The last thing I wanted was little brush hairs getting stuck in the paint.
I used the wide brush for the trunk which gave the most coverage and therefore needed fewer coats. Still though, it was white paint on a fairly dark blue wall, so I still used about 3 coats.
I used the smaller, pointed brush for the branches and leaves.
For later coats I used an even smaller, angled brush to really get the details without going outside the lines.
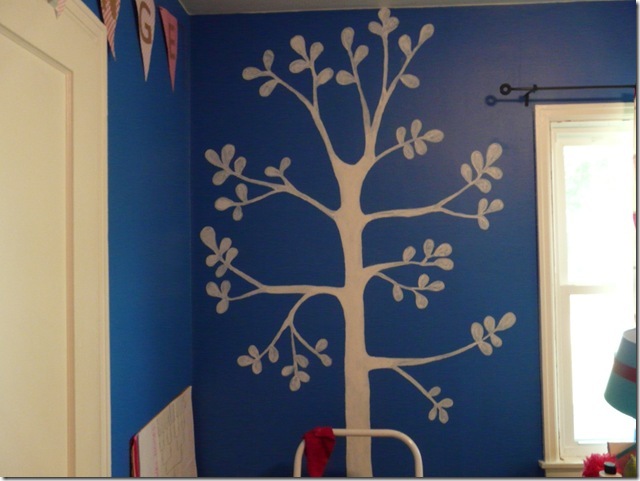
Here’s what it looked like after the first coat.
You can tell (even from further away) that the leaves were still in need of lots of coats to really fill them in.
I won’t bore you with all the pictures I took in between each coat.
It took several hours over two or three days with around 4 coats for the details of the tree.
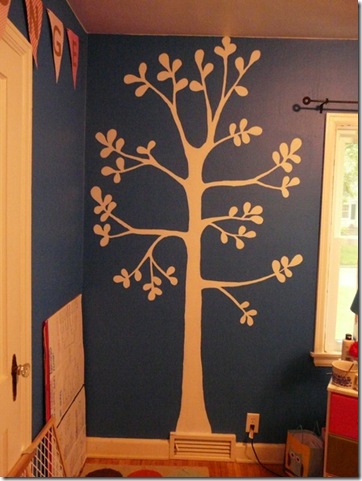
BUT the end result is aaaaall worth it.
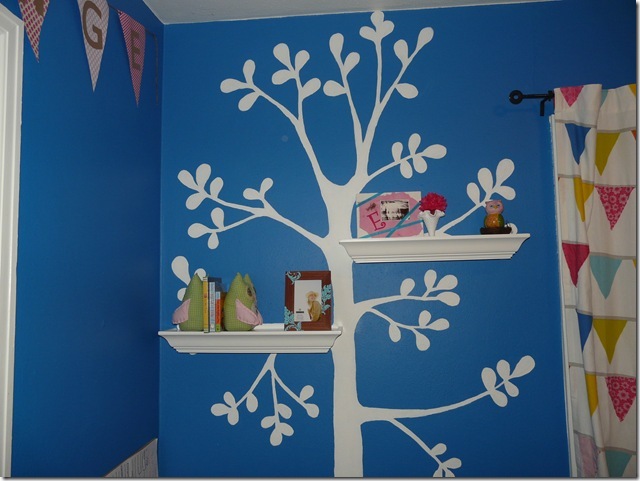
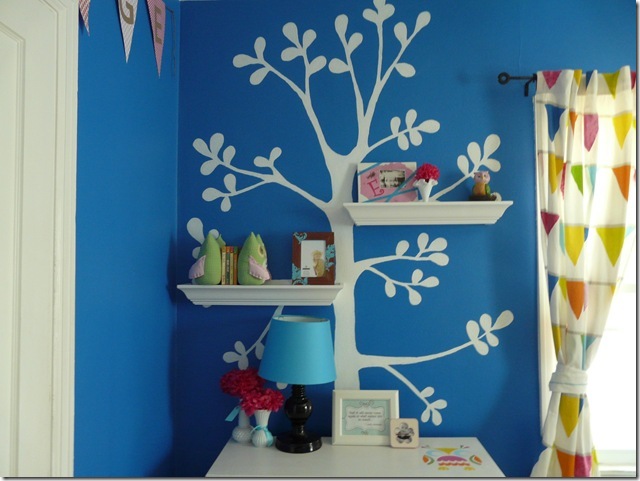
Next, I had my handy husband install two shelves (that were super generously given to us by a friend..thanks Marissa!) on two branches.
Oh, and thanks dear!
I love how the white shelves look like they’re part of the tree branches.
And with STUFF on them, the look is complete.
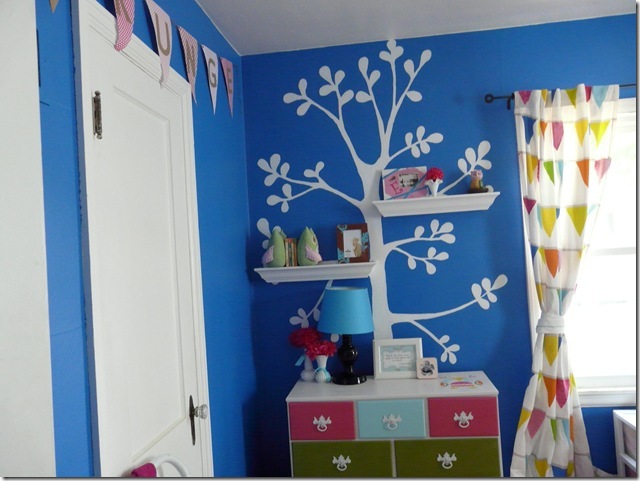
The tree stands right behind her dresser, but I like that if/when we rearrange the room the whole tree is waiting to be seen.
The lamp might need to relocate to show off more of the tree.
And LOOK!
A sneak peak of one of those curtains that was nearly the death of me!
I have one panel done (with hand sewing individual triangles/flags of pink fabric over top the red flags on the curtain) and the other is in progress.
And that, ladies and gentlemen, is my white painted tree.
Hope you love it as much as I do!
Linking up to some parties…


