Nursery Letter Wall

FINALLY!

The letter wall is ON the wall! 🙂 🙂

We were also blessed with a shower this past weekend (more on that later) and so baby girl’s nursery is seeming much more complete!

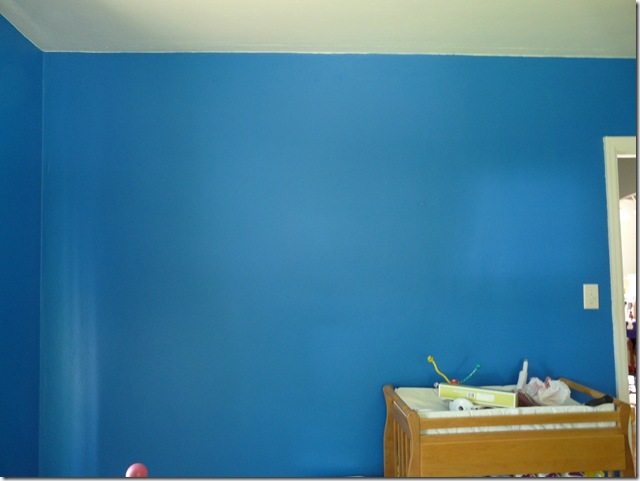
Here’s what we started with:

P1040799

Blue wall. Blank slate.

I had an idea-ish of how I wanted them all placed, but mostly it was a matter of having the (wonderful, amazing, super sweet) hubby hold a letter up to the wall and I would tell him up/down/left/right.

P1040800

Pretty sweet to have such good help.
(Yes, that is a severe farmer’s tan and then scalding burn on his arms. BUT we have a new roof, so I think it was worth it.)

Okay..are you ready????

P1040801

And again!

P1040802

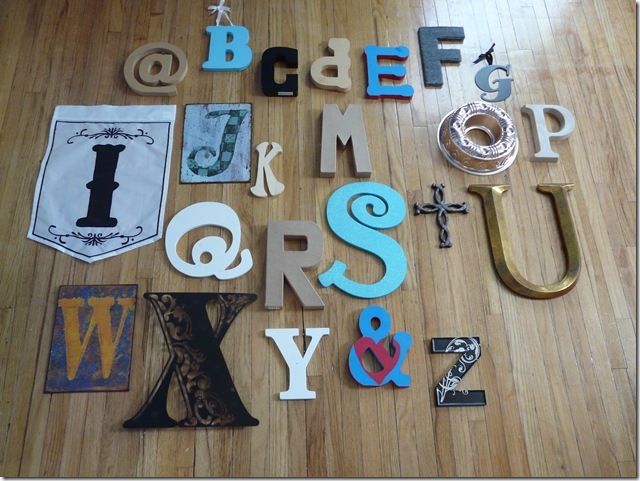
Ok..lemme break it down for you.

P1040803

a – bought from Hobby Lobby, painted the whole thing pink, taped the sides, and then spray painted the whole thing yellow

b – bought from Target as is

c – bought from Hobby Lobby, spray painted orange, and distressed the edges

d – picked up from a ReStore (pretty sure it’s technically a “P”) and wrapped it in ribbon; tutorial here

P1040804

e – made with wood, nails, and yarn; tutorial here

f – wrapped in yarn and pinned on a felt flower; tutorial here

g – gift from a friend (thanks Katie!) and spray painted pink

P1040805

h – made a button monogram and framed it; tutorial here

I – bought flag from Hobby Lobby as is

P1040806

j – bought from Hobby Lobby as is

k – bought from Joann Fabrics (?) and spray painted green

l – made from corks; tutorial here

m – made a fabric covered letter; tutorial here

P1040807

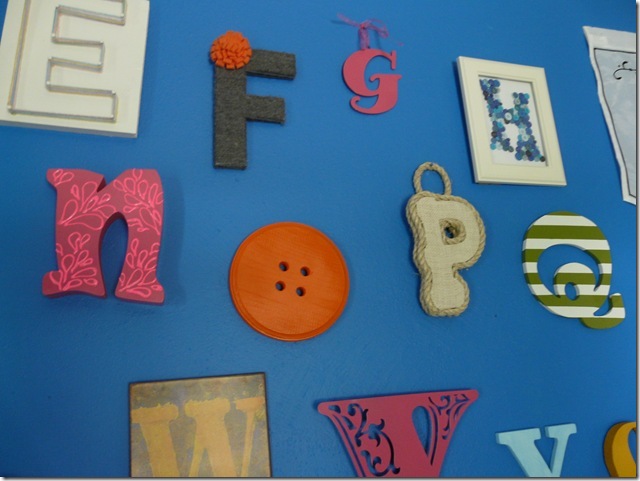
n – bought from Hobby Lobby (originally a “U”), spray painted pink, and then drew a design on with pink puffy paint

o – wooden circle bought from Joann Fabrics, had the hubby drill some holes in it, and painted it orange

p – made a burlap and rope letter; tutorial here

P1040808

q – bought from Hobby Lobby, taped some stripes, and spray painted green

r – made a scrapbook paper covered letter; tutorial here

P1040809

s – bought from Hobby Lobby as is

t – cross from Goodwill spray painted yellow

u – bought from Hobby Lobby and spray painted green

P1040810

v – bought from Hobby Lobby (originally an “A”), sawed off the middle part, and spray painted orange

w – bought from Hobby Lobby as is

x – bought from Hobby Lobby and spray painted pink

P1040811

y – bought from Goodwill and painted blue

& – printed out design, hubby cut with jigsaw, and painted yellow

z – bought from Hobby Lobby, spray painted green, and painted on white design with a paint pen

And one more time just for kicks..

P1040812

I am SO happy that it’s done. Baby Peanut’s nursery is really starting to feel like a room now, and an adorable room at that.

I can’t wait till it’s all done and I can do a great big dramatic reveal for you. 😉

The 36th AVENUE

Button Letter Art

I hope everyone had a wonderful, Christ-filled Easter!

I LOVE LOVE LOVED the time I had with family..but it’s never enough. :/
Now I’m counting down the days till I get to see them in June.

a pin worthy tuesdays

Two weeks in a row! We’re on a roll!

Before I show you today’s project I wanna show you where it’s going to fit into.
Way before we got even got pregnant I fell in love with the idea of a letter wall.

Ya know? Like this?

via

Well, I have been collecting letters for a while and was only about 4 short..before THIS project.

Here are the letters I have collected so far…
Can you spy the missing letters?

P1040621

Yup, we need H, L, V, and N.
And obviously there are several that need paint, fabric, etc. to make them pretty.

So..I went to pinterest to find some inspiration.
When I followed the link for the original pin it brought me to a random, unconnected etsy site, SO, I found this one instead.

via

Plus, I found her tutorial helpful in where to get started in making a button letter..I even made an H too!

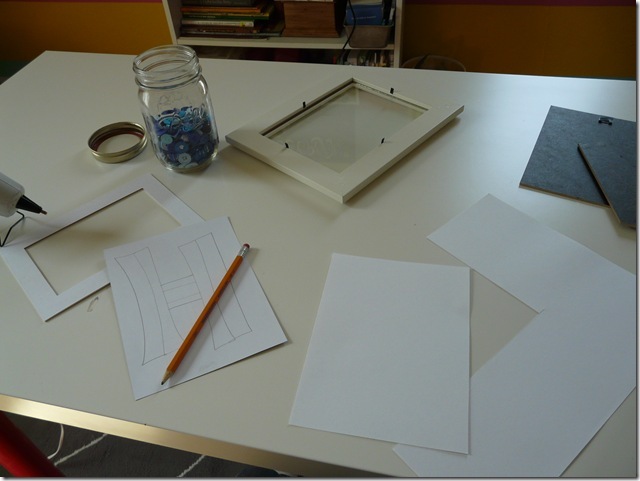
First things first, I got out a handy dandy frame from IKEA, and cut out a piece of white cardstock the size of the frame (just like the paper that comes with the frame, but cardstock is sturdier).

P1040623

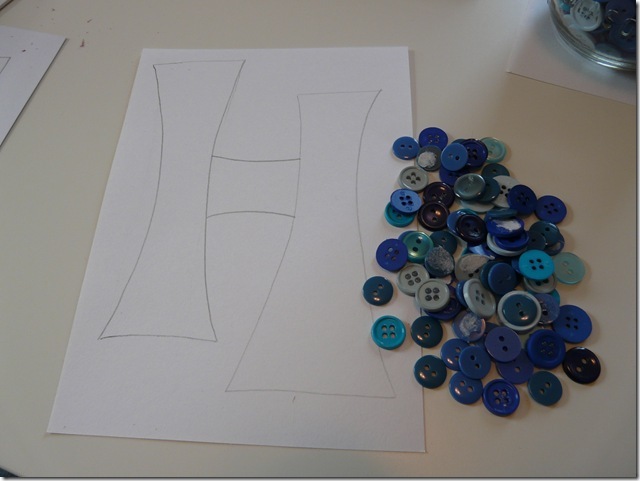
Then, I traced my letter H.
I wanted it to be a little funkier than the standard H, because hey, I had lots of creative freedom here. 🙂

P1040624

Next, I got out my buttons. I used blue since I have A LOT of them leftover from our wedding decorations and I knew blue would match.
In retrospect, it took fewer buttons than I thought it would and I could have used a different color if I wanted without using up my supply.

P1040625

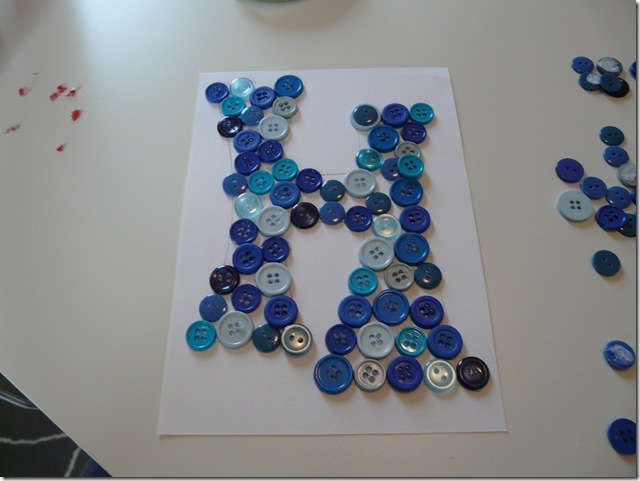
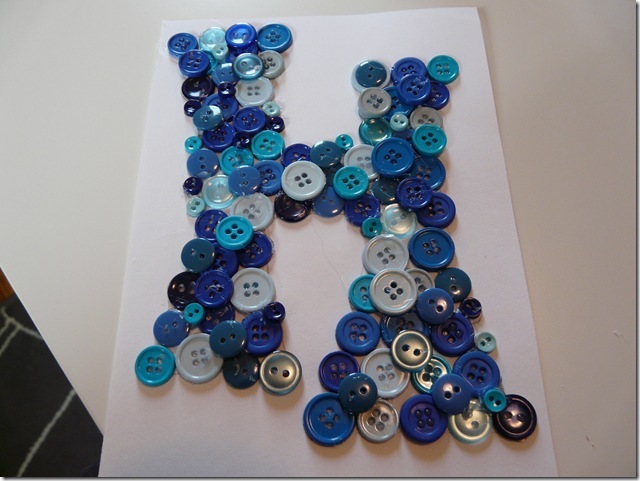
Then, I just started hotgluing buttons on!
It helps to start out with the bigger buttons first and go around the outline of your letter.
I wish that I had covered up all the pencil marks because there was no way to fit an eraser in there after the buttons were glued down.

P1040626

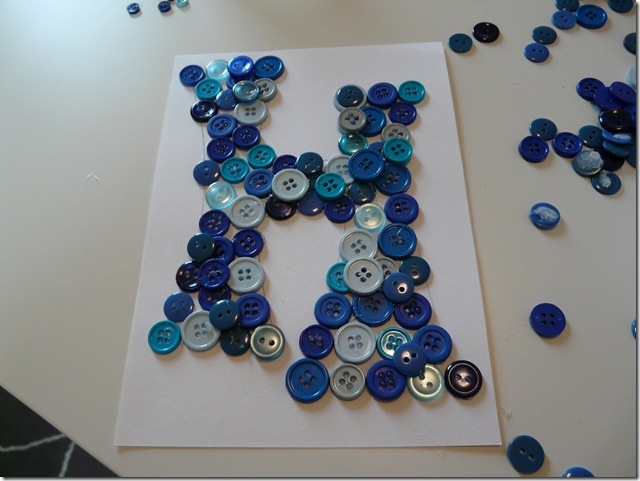
After your first layer of buttons are done, you can fill in some of the holes by layering smaller buttons on top over the empty spaces.
I had to really fill up the crevices with hot glue before the button would stay on.

P1040627

Then, I got out my littlest blue buttons and started using them to fill it in even more.

It was really hard to not get everything covered in hot glue strings, but I did use a hair dryer to melt a few of them away.

P1040629

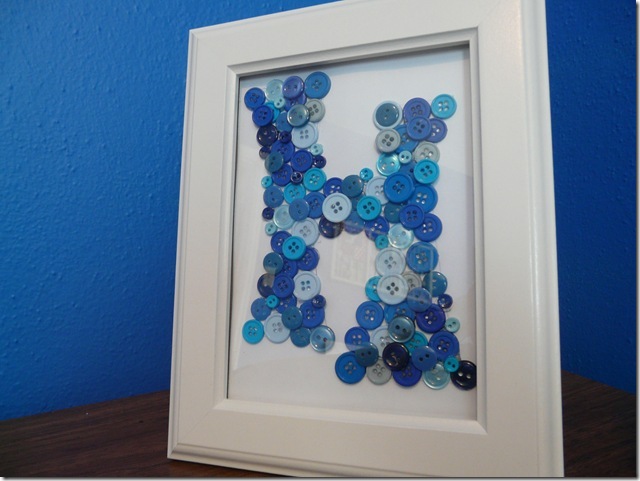
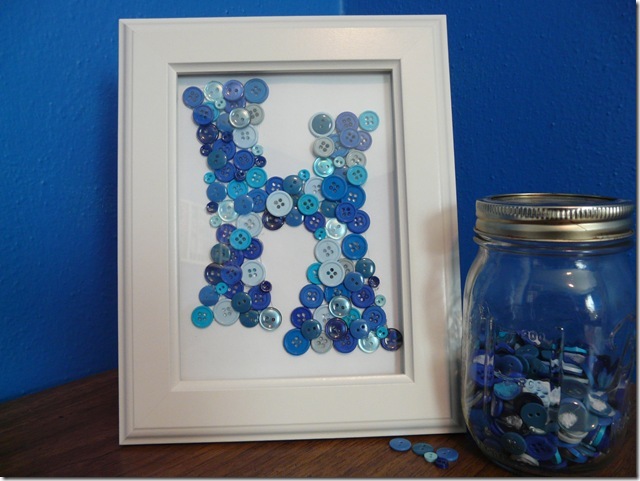
Pop it in the frame and ta da!!
This took me less than an hour to do and I had all the supplies on hand so it was free! 🙂

P1040628

I love how it will fit in with the letter wall!

I don’t recommend doing any more than two button layers, because it was hard to squeeze in the frame as it was! 😉

Linking up to these parties..join me!

Home Stories A2Z

Photobucket

The 36th AVENUE