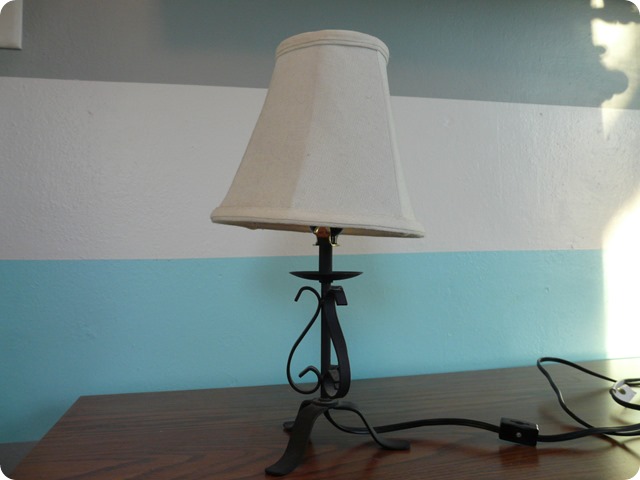
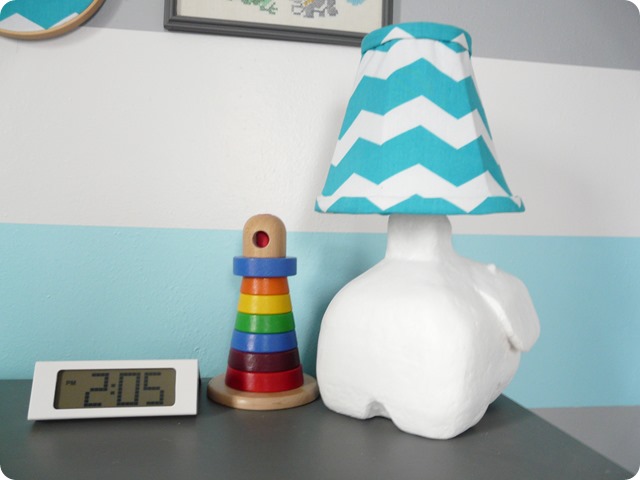
Since we spent so much time making our elephant base for our lamp, I knew that this old lamp shade was just not going to cut it.
I found some tutorials that were helpful online, but it seemed to largely depend on what you had to start with. This lampshade was larger on the bottom and smaller on the top with several paneled sections. I also discovered that the outer fabric was attached to the inner lining at the two seems. All of those details meant that I had to make most of it up as I went.
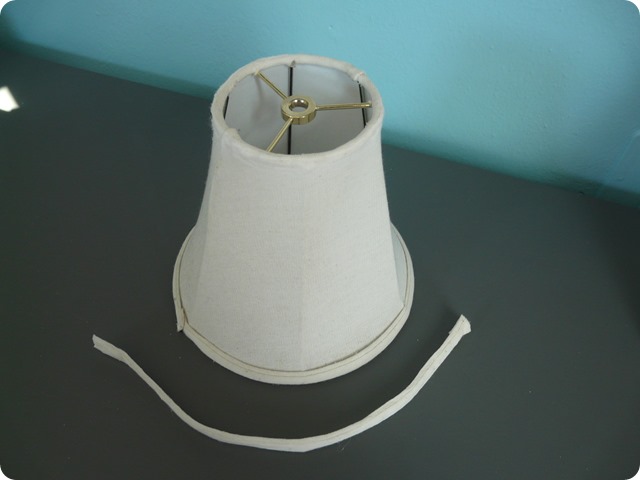
First, I took off the trim pieces from the top and bottom of the shade. These seemed to be attached with hot glue and came off easily in a long strip.
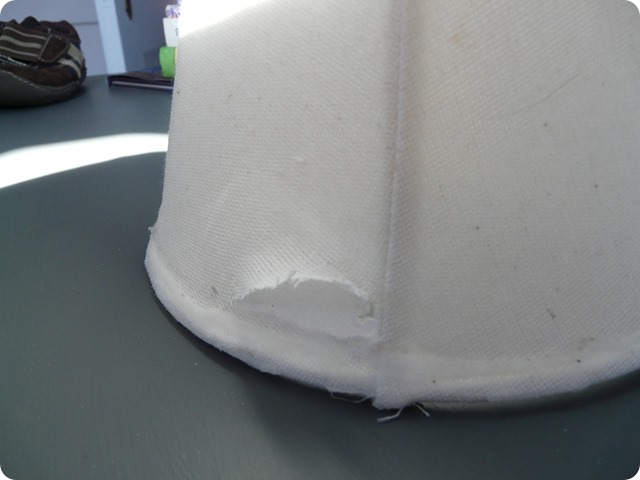
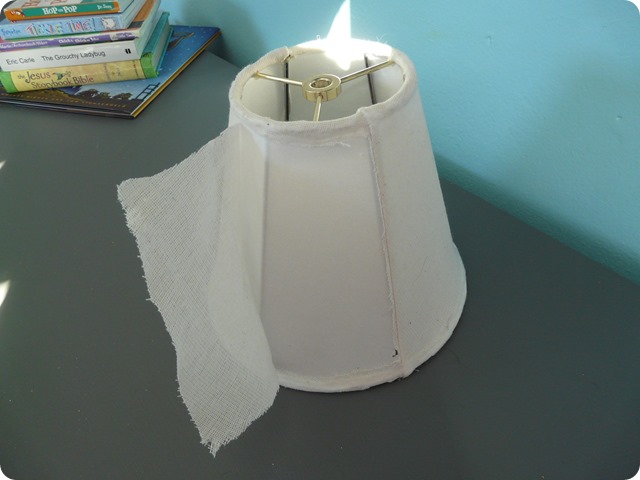
Then, as carefully as I could, I cut the outer fabric apart at the seams and the top and bottom of the shade.
There was a little of the canvas material left along the top and bottom, but I knew this would ultimately be covered and wouldn’t show through.
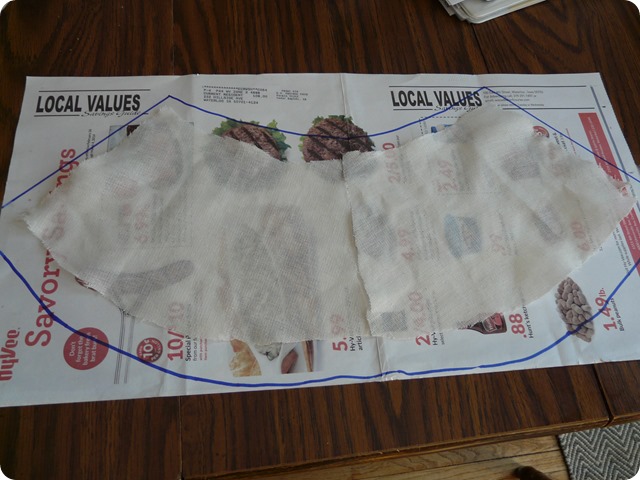
This gave me two pieces of fabric that I could use to make a template. I knew that it was slightly smaller than my shade since I was unable to separate all of the fabric from the lining, so I made sure I made it a little bigger than necessary. First I traced on a piece of newspaper to make a template.
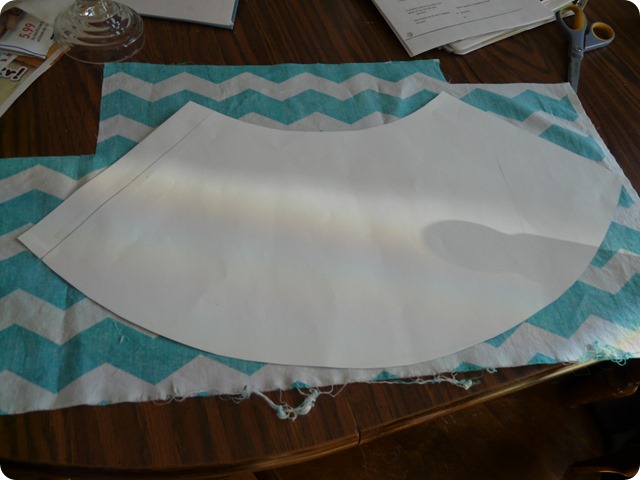
Then I used that template on my chevron fabric. Thankfully I had just enough fabric left over from the dresser to make the shade. The chevron pattern was not ideal since I knew it was going to wrap upward, but I just made sure it would look straight on the front of the shade and the inconsistencies would be in the back.
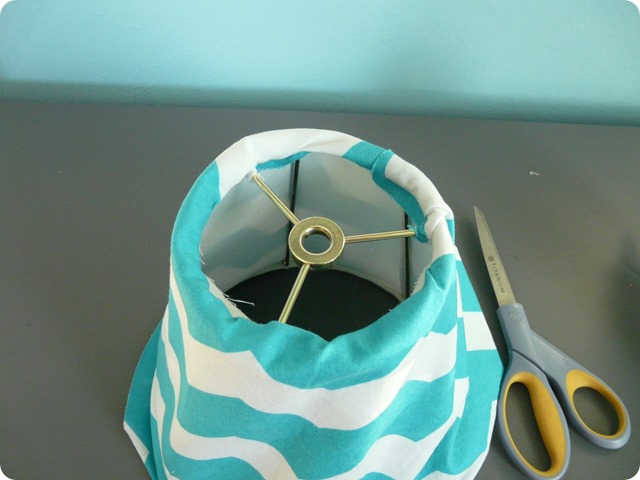
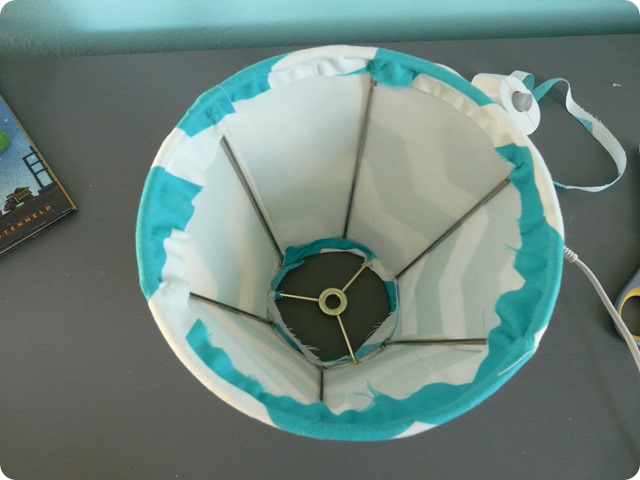
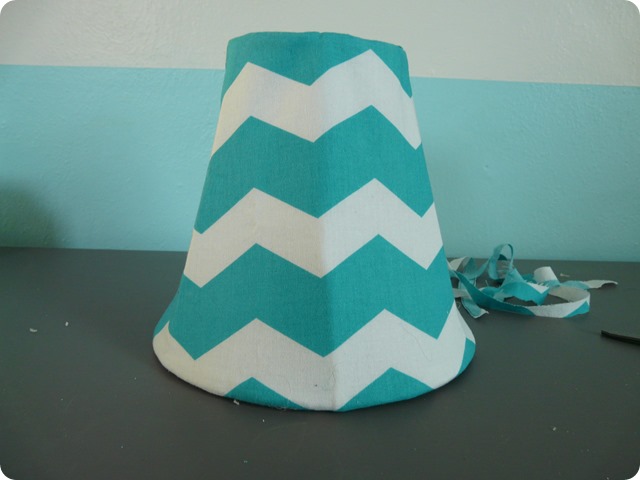
I hot glued the fabric to the top of the shade first working around the metal frame.
Then I hot glued the fabric to the bottom of the shade, pulling it taught as I went and trimming the excess fabric.
Here it is so far.
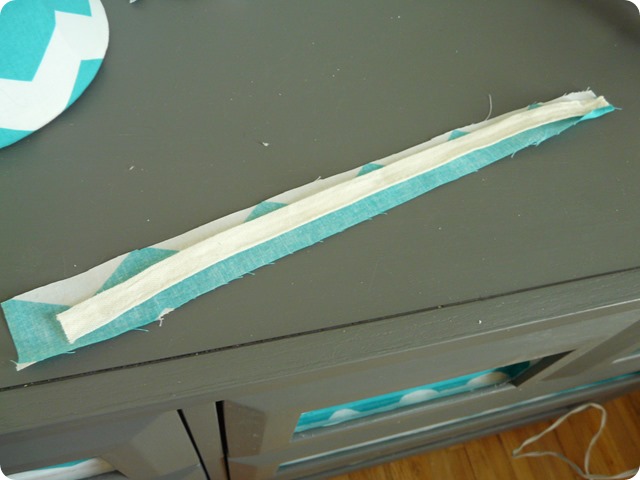
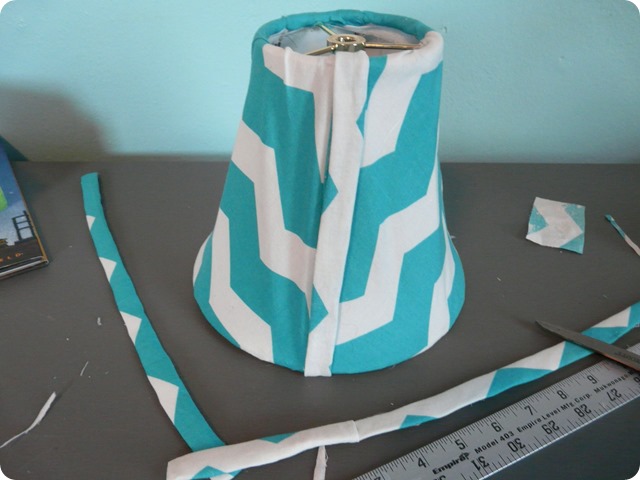
I then cut strips of fabric to cover the trim pieces and hot glued them around.
I then used the trim pieces to cover my seam in the back and to go around the top and bottom. See how wonky the pattern is in the back? That’s why it’s the back.
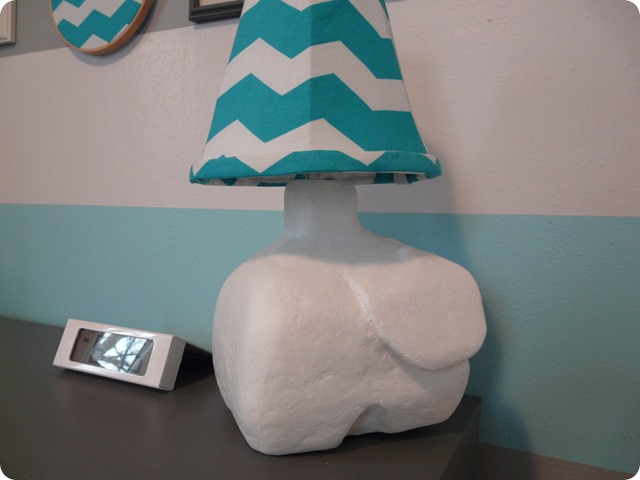
Final step. Put the shade on the lamp!
I love how the it turned out and how the fabric ties the dresser and the lamp together!
I will show pictures of the full room very soon.
Thanks for reading!

